Oh My Zsh!
查看已有终端
cat /etc/shells

# /bin/bash
# /bin/csh
# /bin/dash
# /bin/ksh
# /bin/sh
# /bin/tcsh
# /bin/zsh
查看当前正在使用的终端
echo $SHELL

# /bin/bash
安装 zsh 终端
# MacOS
brew install zsh

# Ubuntu, Debian, Windows 10 WSL
apt install zsh

# CentOS
yum -y install zsh
切换终端为 zsh
chsh -s $(which zsh) $(whoami)安装 oh-my-zsh
# curl 方式安装
sh -c "$(curl -fsSL https://raw.github.com/robbyrussell/oh-my-zsh/master/tools/install.sh)"

# wget 方式安装
sh -c "$(wget https://raw.github.com/robbyrussell/oh-my-zsh/master/tools/install.sh -O -)"
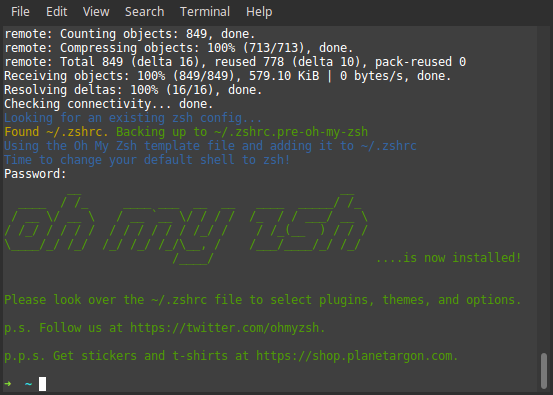
安装完成以后效果如图
修改主题以及配置
oh-my-zsh 的配置文件位于 ~/.zshrc,可以进行自定义的修改配置。
主题配置
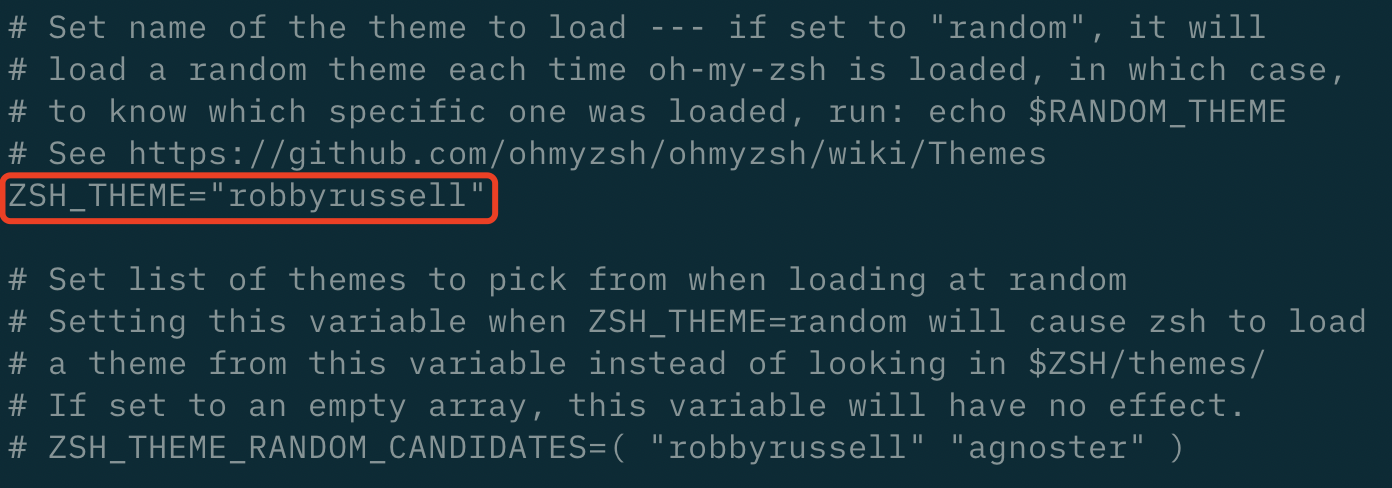
ZSH_THEME 字段为主题字段,默认为 robbyrussell,可以自由更改,可选的主题参考 ~/.oh-my-zsh/themes/ 目录。
插件配置
本文只介绍 3 个较为常用的 oh-my-zsh 插件
插件介绍
zsh-autosuggestions
输入命令时可提示自动补全

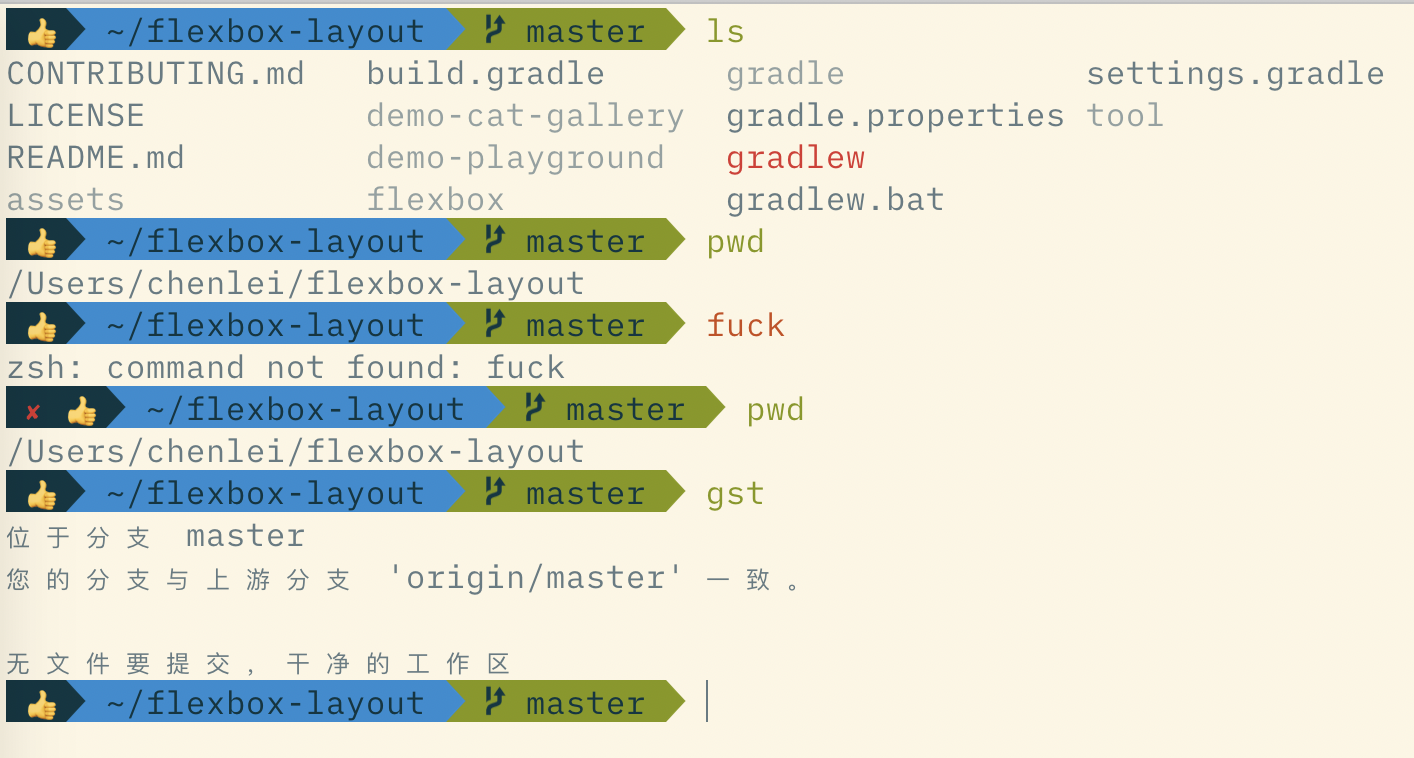
zsh-syntax-highlighting
常用的命令会高亮显示,命令错误显示红色
git
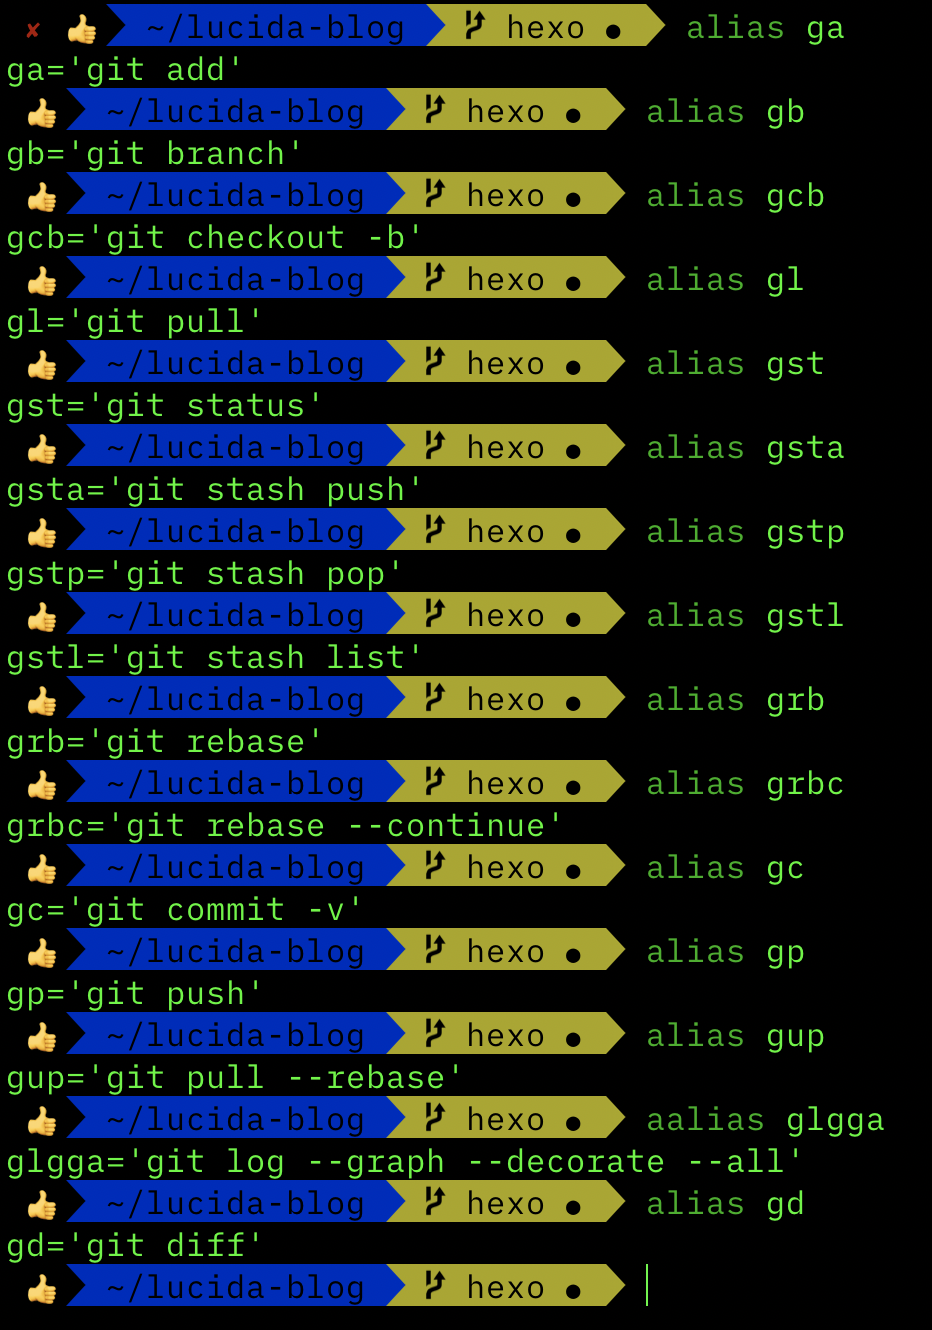
默认启用,支持各种 git 命令简写,完整简写列表参考 ~/.oh-my-zsh/plugins/git/git.plugin.zsh
安装插件
# 安装 zsh-autosuggestions
git clone git://github.com/zsh-users/zsh-autosuggestions $ZSH_CUSTOM/plugins/zsh-autosuggestions

# 安装 zsh-syntax-highlighting
git clone git://github.com/zsh-users/zsh-syntax-highlighting $ZSH_CUSTOM/plugins/zsh-syntax-highlighting

# 安装后的插件位于~/.oh-my-zsh/custom/plugins/ 目录
安装插件以后还需要更新 ~/.zshrc 配置文件
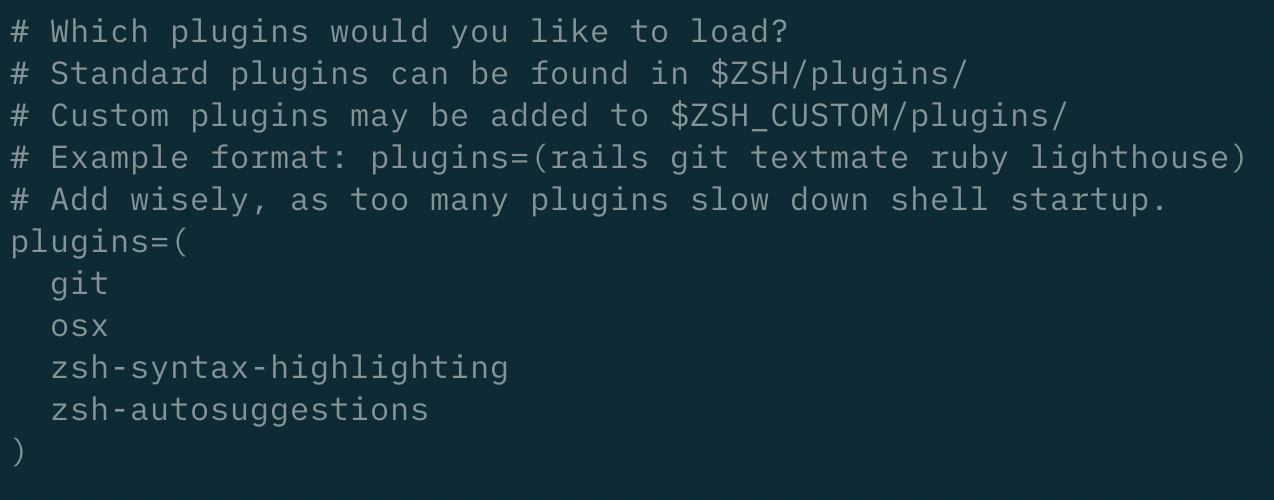
保存配置后进行更新
source ~/.zshrc下图为 agnoster 主题的效果
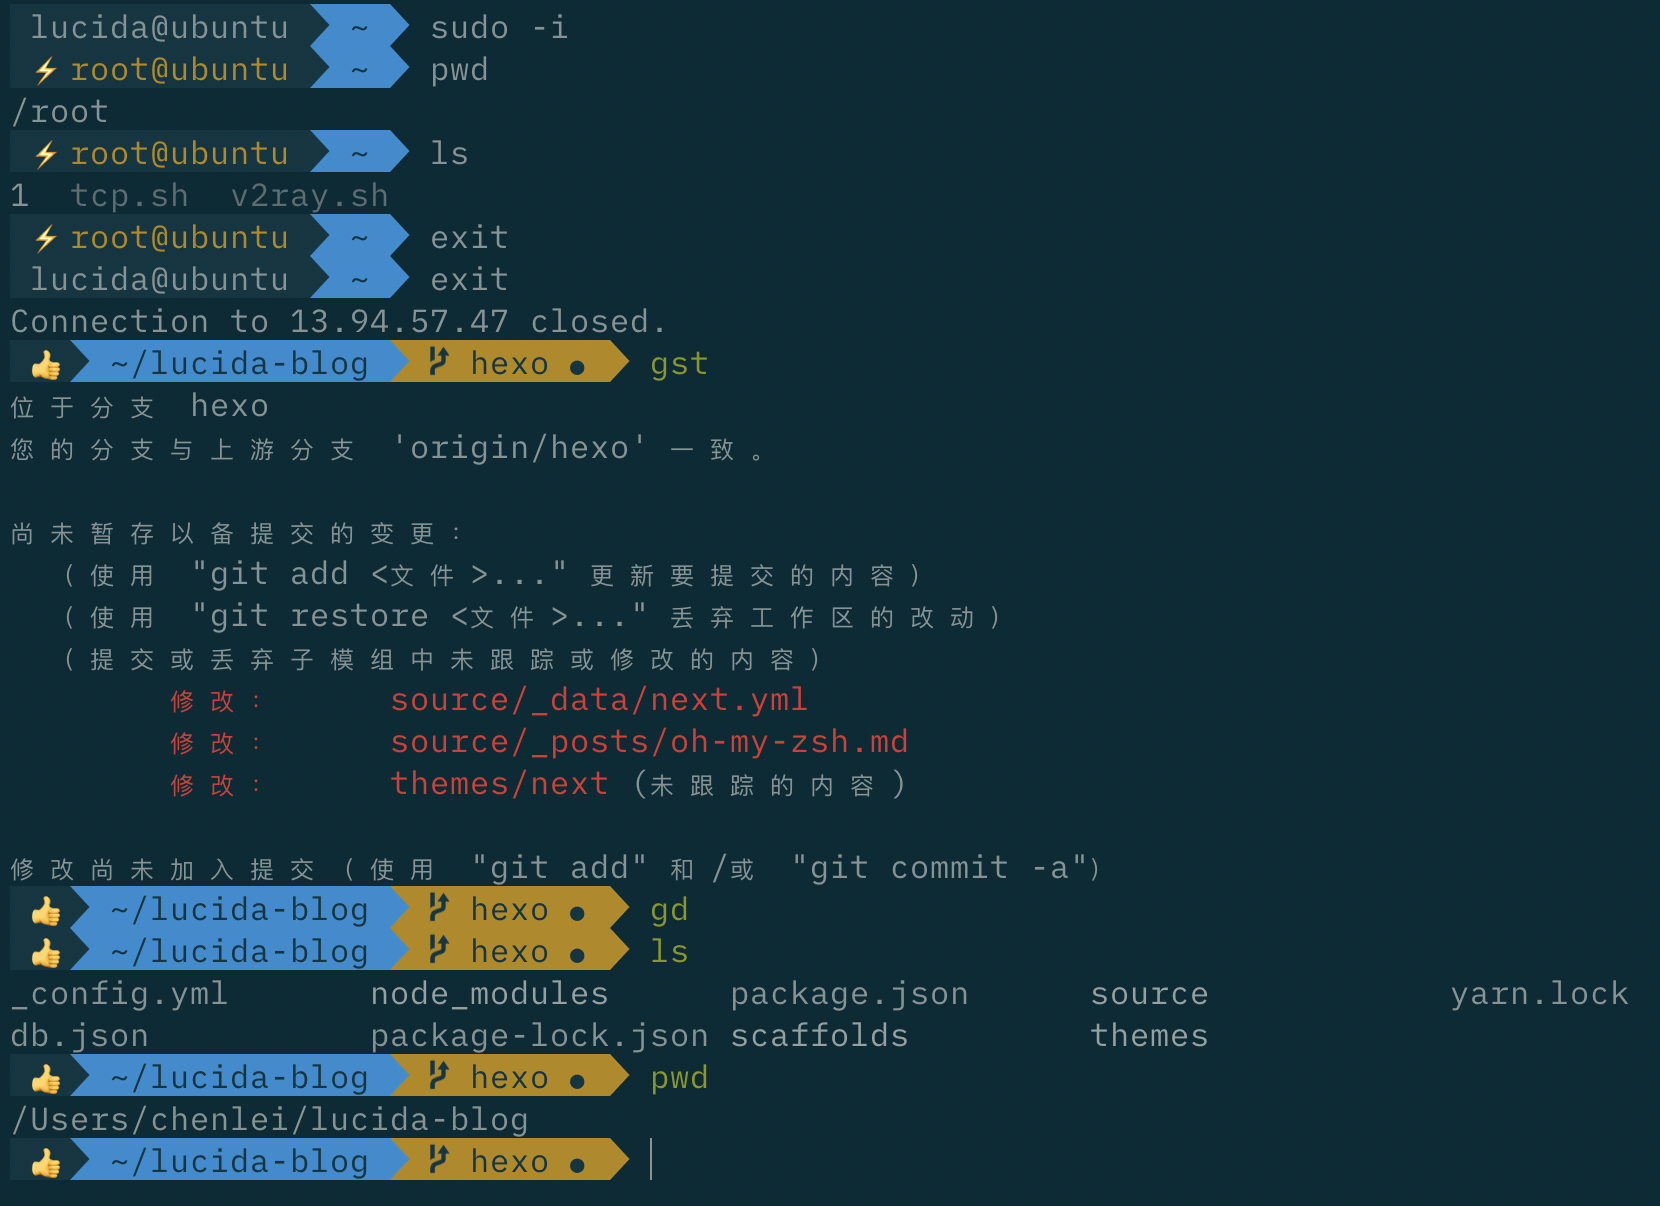
注意:在使用 agnoster 主题时,部分符号在终端无法正常显示,还需安装 Powerline fonts 字体
# clone
git clone https://github.com/powerline/fonts.git --depth=1
# install
cd fonts
./install.sh
# clean-up a bit
cd ..
rm -rf fonts